How to Transfer Files Without a USB Cable
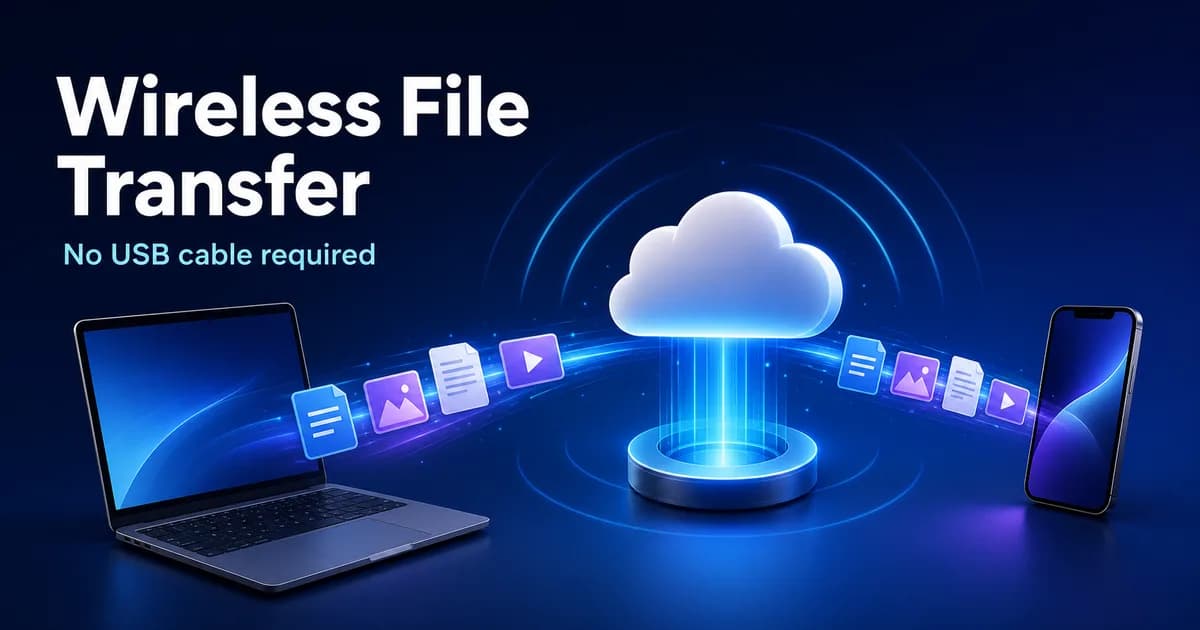
A missing cable does not have to stop a transfer. Choose among account-based apps, nearby sharing, local-network tools, cloud storage, Bluetooth, and platform-specific options based on your devices and location.
Quick answer
- Use a cross-platform account app when your own devices run different operating systems or use different networks.
- Use AirDrop, Quick Share, or Windows Nearby sharing when compatible devices are physically close.
- Use a local-network tool when the devices share Wi-Fi and you prefer a nearby, account-free workflow.
- Use cloud storage when you need shared folders or later access; use Bluetooth mainly for small nearby transfers.
“Wireless file transfer” is not one technology. Some methods discover nearby devices with Bluetooth and move data over Wi-Fi. Others require both devices to share a local network. Cloud-backed tools work across different networks but require internet access. The best choice depends on the device pair, distance, file size, and whether the transfer is a one-time exchange or a recurring personal workflow.
This guide compares the practical methods and explains when each one fits. It owns the informational “without a USB cable” intent. For the product-focused explanation of TapSend’s cable-free workflow, visit the wireless file transfer page.
Before sending sensitive or irreplaceable files, confirm the recipient, keep the original until the copy opens successfully, and use only the permissions the chosen app needs.
Choose the right cable-free method
- List the sending and receiving operating systems.
- Decide whether the devices are nearby, on the same network, or in different locations.
- Check whether both devices have reliable internet access.
- Note the file size and available storage on the receiving device.
- Decide whether an account or app installation is acceptable.
- Keep a known filename so you can verify the received copy.
Method 1
Use a cross-platform account app
Best for recurring transfers between your own devices, including devices on different networks.
An account-based app keeps a named list of your registered devices. With TapSend, install the app on supported Windows, macOS, Linux, Android, iPhone, or iPad devices, sign into the same TapSend account, choose content, and select the receiving device.
TapSend uses cloud-backed delivery. Both devices need internet access, but they do not need to share Wi-Fi, remain nearby, or pair over Bluetooth. Data is protected in transit with HTTPS/TLS; TapSend does not claim end-to-end encryption or peer-to-peer delivery.
This method fits someone who regularly moves files, pasted text, or links among their own mixed-device setup. Start with the cross-platform file-sharing overview or choose a specific workflow from the resource hub.
What to check
- Install TapSend on both supported devices.
- Sign into the same account and give each device a recognizable name.
- Check the current plan’s file-size, storage, history, and usage allowances.
Method 3
Use AirDrop between nearby Apple devices
Best when the sender and receiver are nearby Apple devices.
AirDrop remains the natural built-in choice for nearby iPhone, iPad, and Mac transfers. Choose the content, open the Share menu, select AirDrop, and choose the visible Apple recipient. Apple documents the required discovery and receiving controls for each platform.
AirDrop is not a native Windows, Android, or Linux transfer method. If a non-Apple device enters the workflow, choose a cross-platform app, a browser or local-network method, or cloud storage instead. The AirDrop alternatives guide compares those models without treating AirDrop as a poor choice inside its intended ecosystem.
What to check
- Confirm both devices are compatible Apple products and are nearby.
- Review AirDrop receiving visibility on the destination.
- Verify the recipient name before sending.
Method 4
Use a local-network transfer tool
Best for nearby devices sharing one local network, especially when an account is undesirable.
Local-network tools discover devices that share Wi-Fi or another local connection and transfer directly within that environment. LocalSend is one example: it is designed for nearby, account-free transfers on the same local network.
This model can work without routing the transfer through a cloud account, but discovery may fail on guest Wi-Fi, isolated networks, corporate firewalls, or access points that prevent devices from seeing one another. It also does not fit devices in different locations.
Read the factual LocalSend alternative page to compare its local workflow with TapSend’s account-based, cloud-backed model.
What to check
- Connect both devices to the same trusted local network.
- Check whether the network isolates clients or blocks local discovery.
- Use this method only when the devices can remain nearby during the transfer.
Method 5
Upload to cloud storage and download on the other device
Best for shared folders, asynchronous access, and files you want available later.
Services such as Google Drive, OneDrive, and iCloud Drive can act as an intermediary. Upload the file from the sending device, wait for synchronization, then open or download it on the receiving device. This is useful when the recipient does not need the file immediately or when several devices should access the same folder.
Cloud storage is not the same as device-to-device sending. You must manage storage space, sharing permissions, links, and possibly a second download step. Confirm whether the file is private to your account or shared with other people before uploading sensitive data.
What to check
- Confirm available cloud storage and upload progress.
- Review link or folder permissions before sharing.
- Wait for synchronization to finish before assuming the upload failed.
Method 6
Use Windows Nearby sharing between PCs
Best for supported Windows computers that are physically close.
Microsoft’s Nearby sharing lets supported Windows PCs share documents, photos, links, and other content over Bluetooth or Wi-Fi. Enable Nearby sharing on both computers, choose who can share with the device, then use the Share action in File Explorer.
This is a Windows-to-Windows method, not a general Android, iPhone, Mac, or Linux workflow. Microsoft’s current documentation also explains how same-network Wi-Fi and Bluetooth support affect the experience.
What to check
- Enable Nearby sharing on both supported Windows PCs.
- Choose My devices only or Everyone nearby deliberately.
- Keep Bluetooth and Wi-Fi available and verify the destination PC name.
Method 7
Use Bluetooth for small nearby files
Best as a basic fallback when both devices support Bluetooth file exchange.
Windows supports sending and receiving files over Bluetooth with a paired compatible device. This can work without a USB cable, Wi-Fi, or internet connection. Pair the devices, prepare the receiver, and use Windows’ Bluetooth file-transfer flow.
Bluetooth is usually better suited to a small photo or document than a large folder or video. Support and receiving steps vary by device platform, so verify that the non-Windows device can participate in Bluetooth file exchange before relying on this method.
What to check
- Pair the devices and keep them nearby.
- Put the destination into its receive-file flow before sending.
- Prefer another method for large batches or time-sensitive transfers.
Frequently asked questions
Can I transfer files without USB or Bluetooth?
Yes. Use a cross-platform internet-based app, cloud storage, or a local-network tool. TapSend requires internet access but does not require a USB cable, Bluetooth pairing, device proximity, or the same Wi-Fi network.
Do both devices need the same Wi-Fi network?
It depends on the method. Local-network tools generally require the same network, and nearby features have their own proximity rules. TapSend is cloud-backed, so both devices need internet access but can use different networks.
What is the fastest cable-free transfer method?
There is no universal winner. Speed depends on the file, hardware, network, distance, service, and current conditions. Choose a method that matches the device pair and location rather than relying on unsupported performance claims.
Can I send large files without a USB cable?
Yes, if the selected service, plan, connection, and destination storage support the file. Check size and usage allowances before starting. Avoid assuming that any app provides unlimited transfers.
Which cable-free methods work without internet?
Bluetooth and some local-network or nearby-sharing workflows can operate without an internet-routed transfer, depending on the devices and method. TapSend uses cloud-backed delivery and therefore requires internet access on both devices.
Continue exploring
Wireless file transfer with TapSend
See the product-focused cable-free workflow and supported platforms.
Cross-platform file sharing
Understand how mixed operating systems affect your transfer choice.
Android to Windows
Follow a complete phone-to-PC transfer guide.
Windows to iPhone
Move files from a Windows PC to an iPhone without a USB workflow.
Mac to Windows
Use one account-based workflow across desktop platforms.
Secure file sharing
Review practical security checks before sending important files.
Send without hunting for a cable
Connect your supported devices through one TapSend account and use cloud-backed delivery even when they are on different networks.
Download TapSendOfficial sources
- Google Android Help: share files between Android and Windows with Quick Share
- Apple Support: use AirDrop to send items to nearby Apple devices
- Microsoft Support: share things with nearby Windows devices
- Microsoft Support: send and receive files over Bluetooth in Windows
- Google Drive Help: upload and access files